How To Make Your Landing Pages More Beautiful With The Domain Theme

Let's start by adding logos to your domain list.
Go to the "Domain For Sale" menu → "Configuration".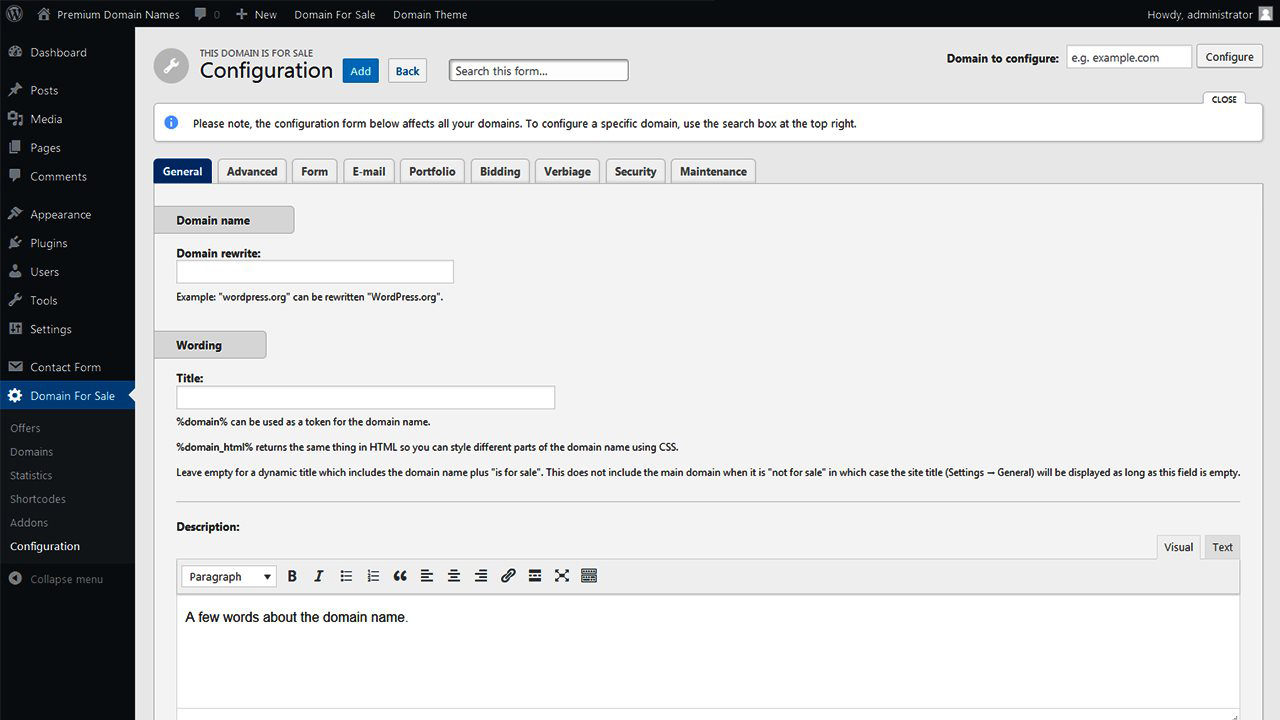
Click the "Add" button at the top of the page.
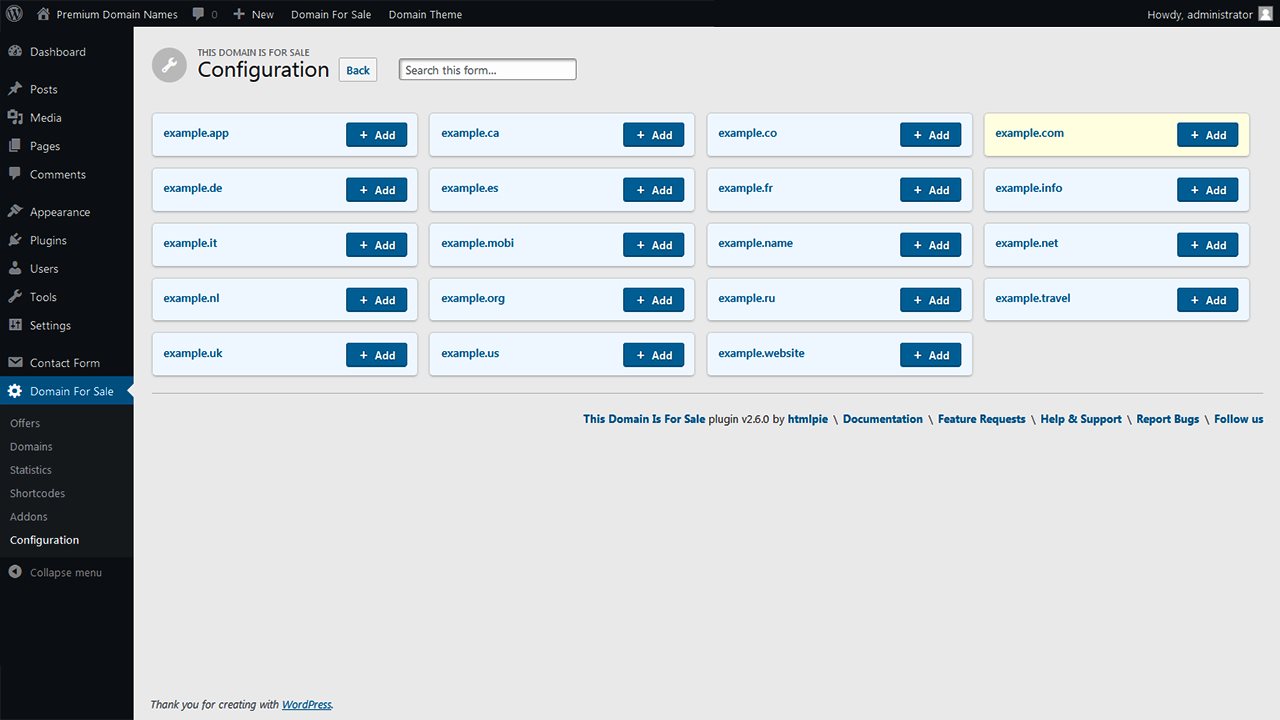
These are the domains that you have already imported.
Pick one and click its "Add" button.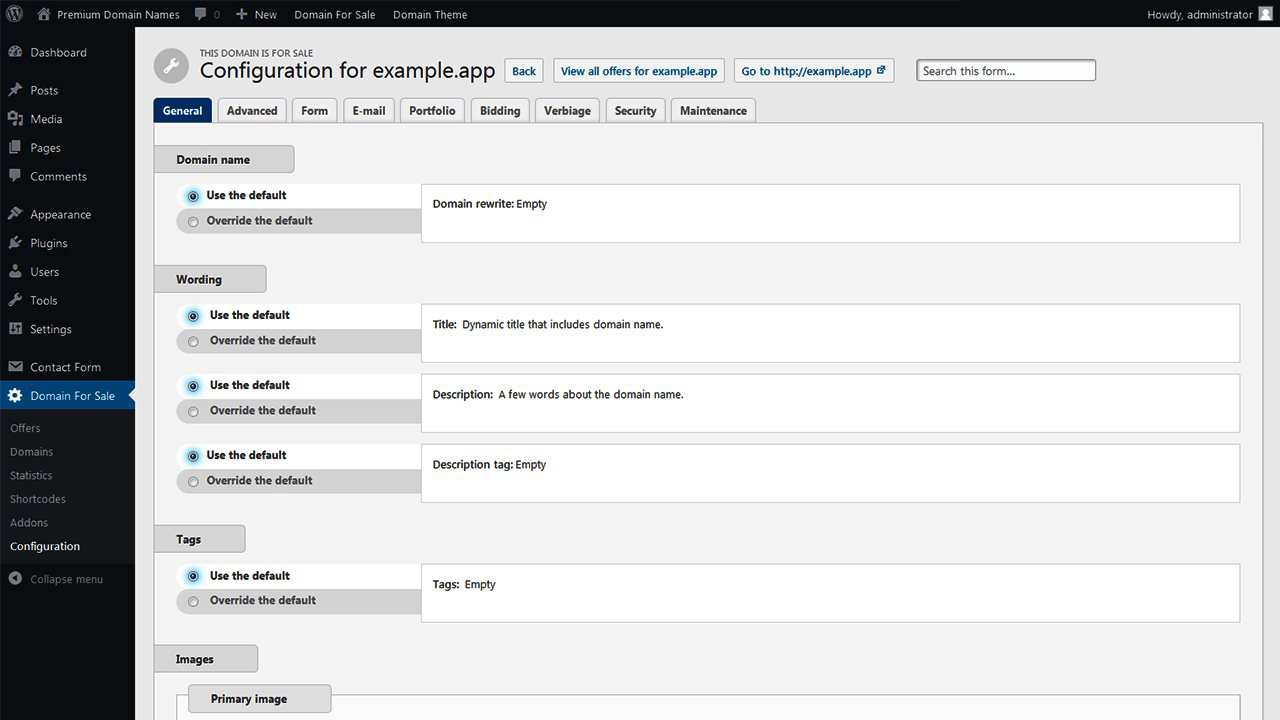
You have the same set of configuration options here, with just one difference: you can use the tabs on the left to customize each for just this domain.
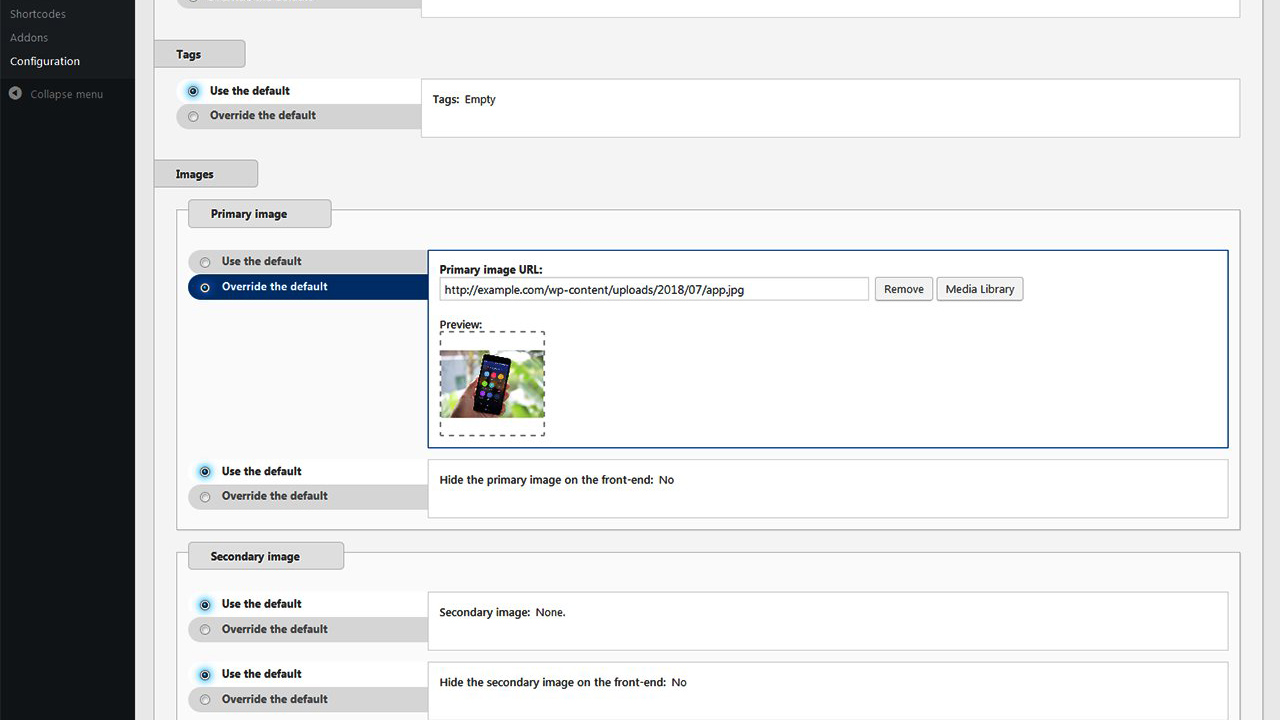
Scroll down to the "Primary image" option.
Set its tab on the left to "Override the default".
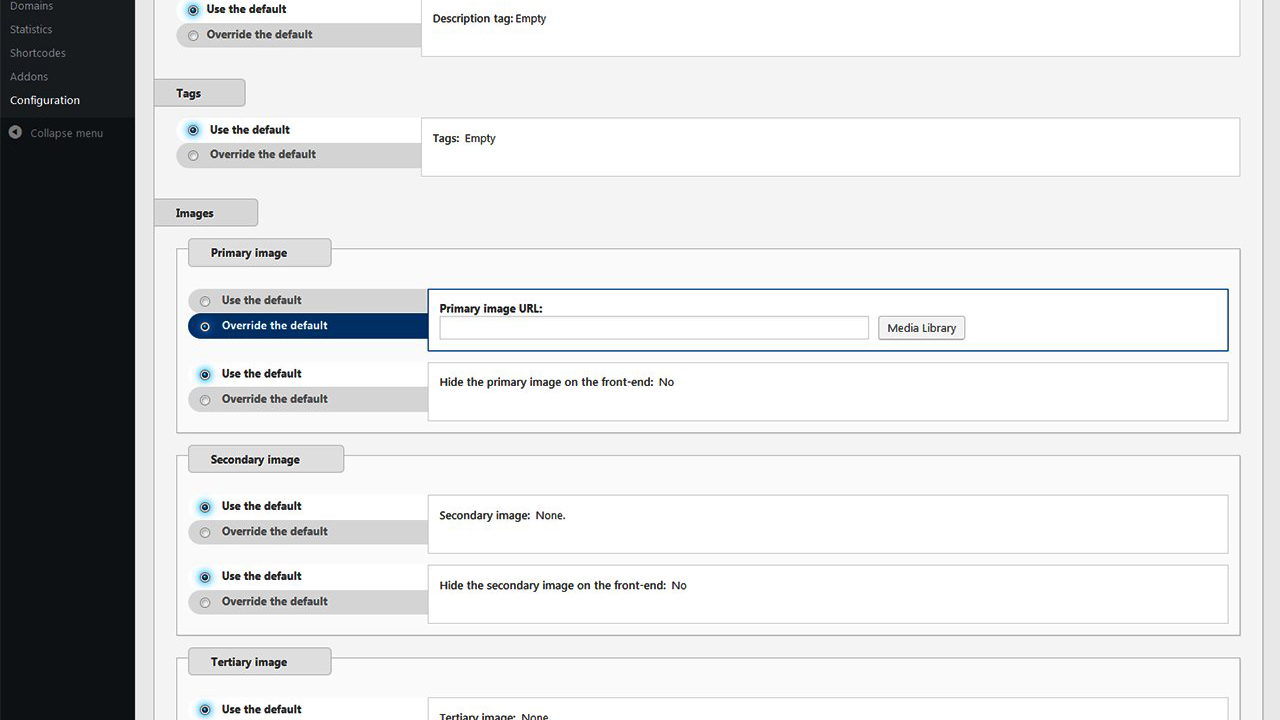
Click the "Media Library" button.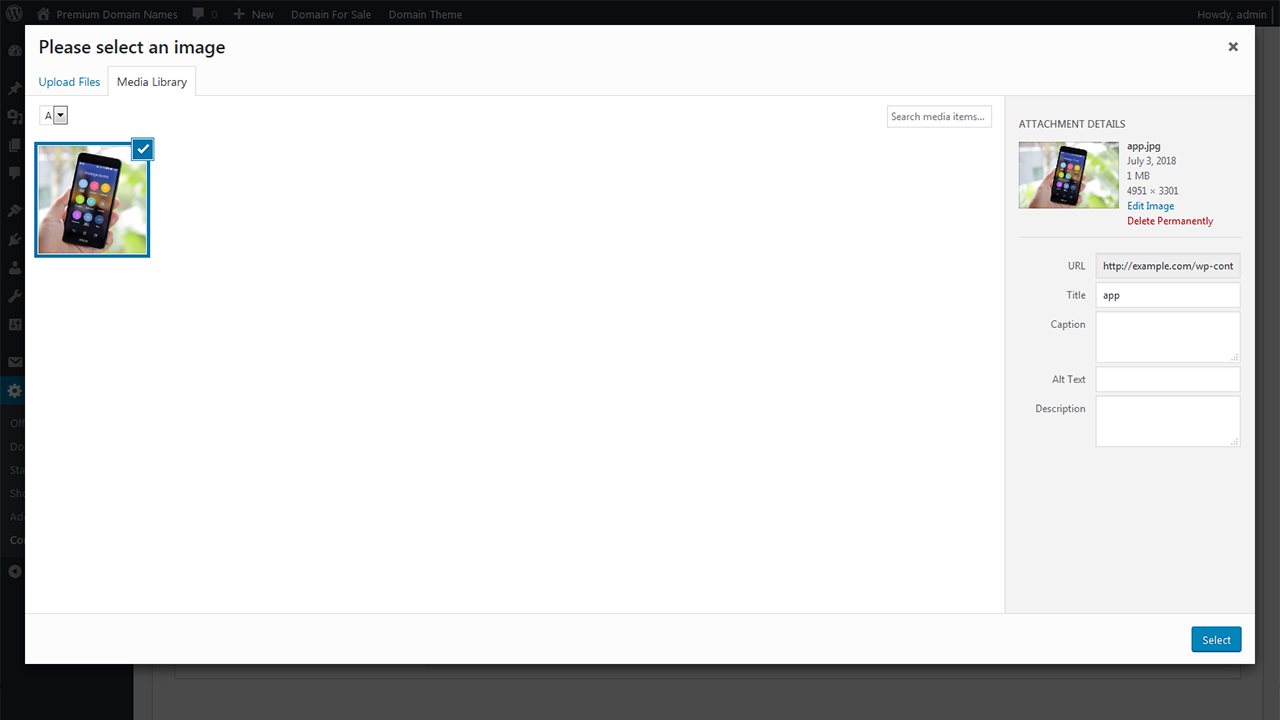
Select an image and then click the "Select" button at bottom right.

This image will be used as the logo for this domain in the domain list.
Let's now change how the domain name is displayed, and then add a fixed-price too.
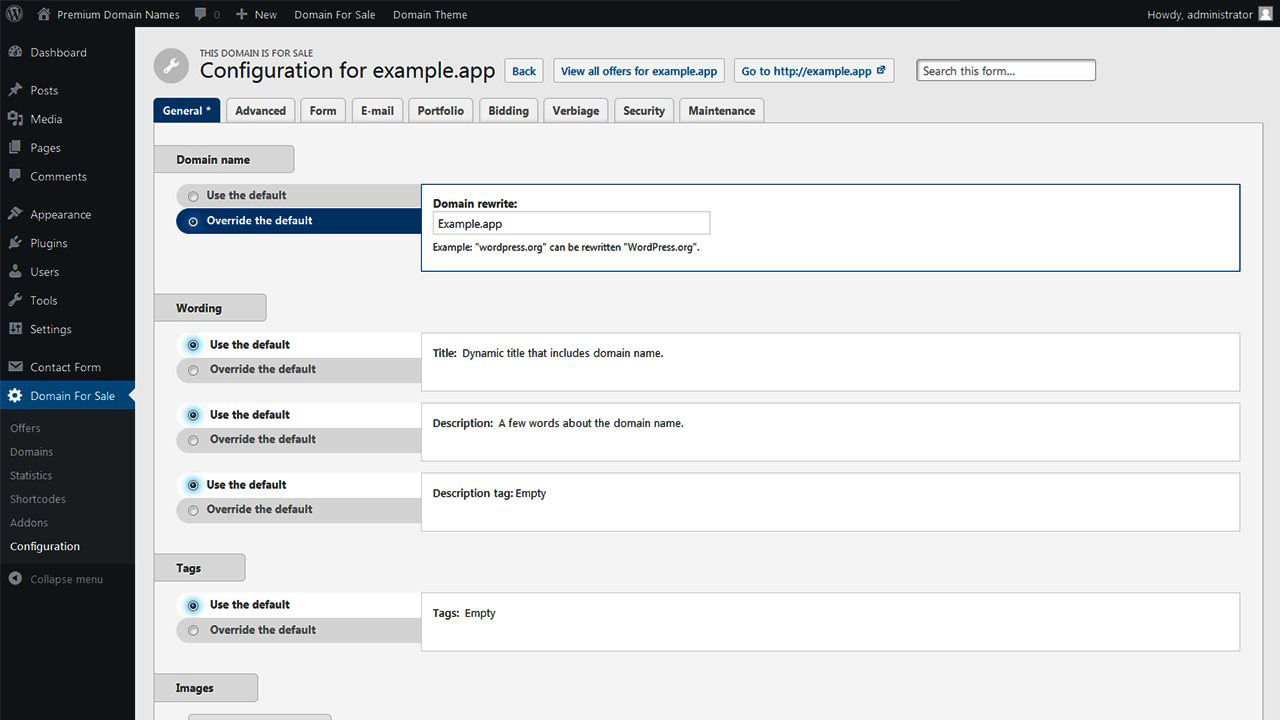
Find the "Domain Rewrite" option at the top of the page and change it to "Override the default".
Enter the domain name the way you want it to appear on the frontend, e.g. Example.Com instead of example.com.
You can also just enter the domain name, without the extension, e.g. just Example with no .com.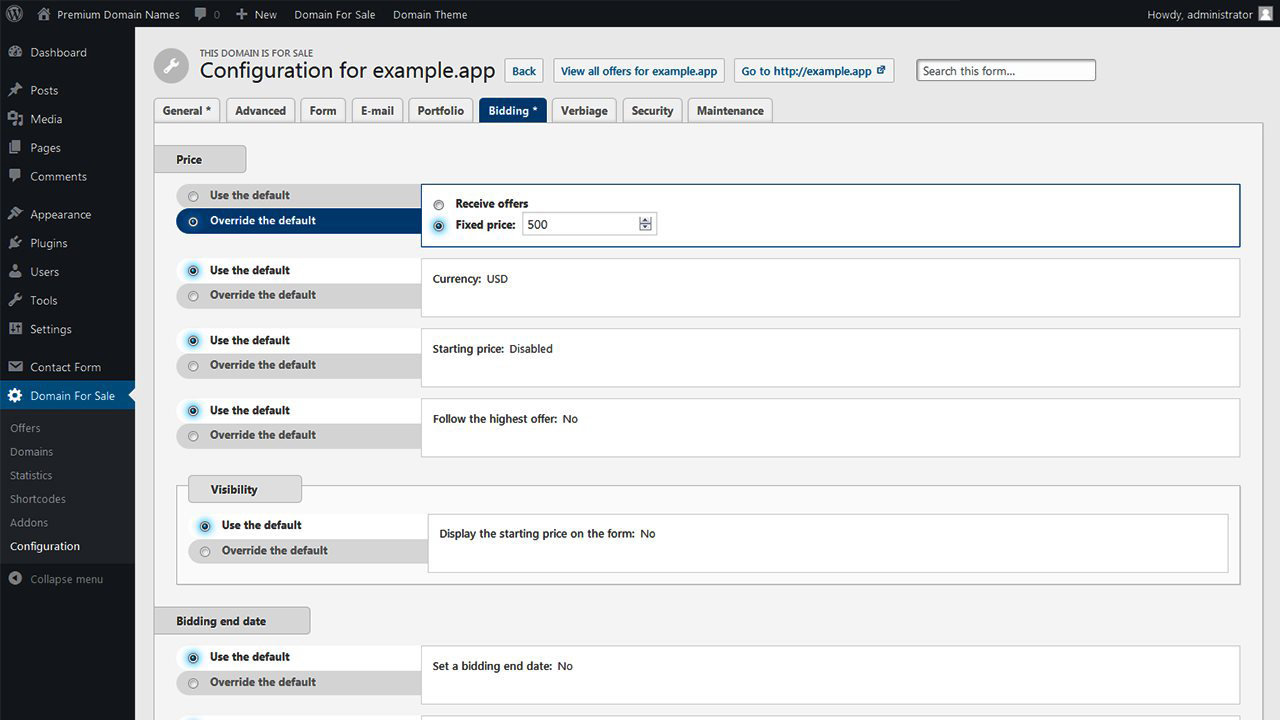
Go to the "Bidding" tab.
Change the "Price" option to "Fixed price"
Enter some price like 500, and then save he configuration.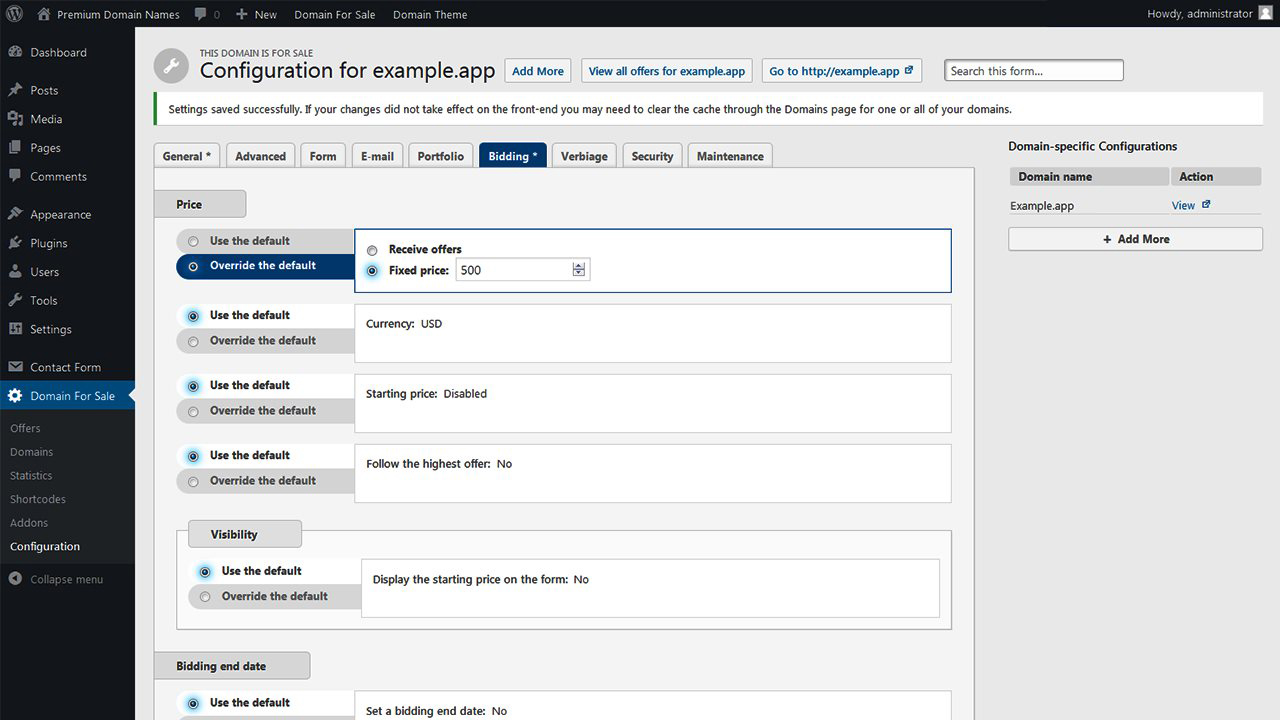
As you can see you have many more options here, you should definitely explore them all, familiarizing yourself with all these tools and settings.
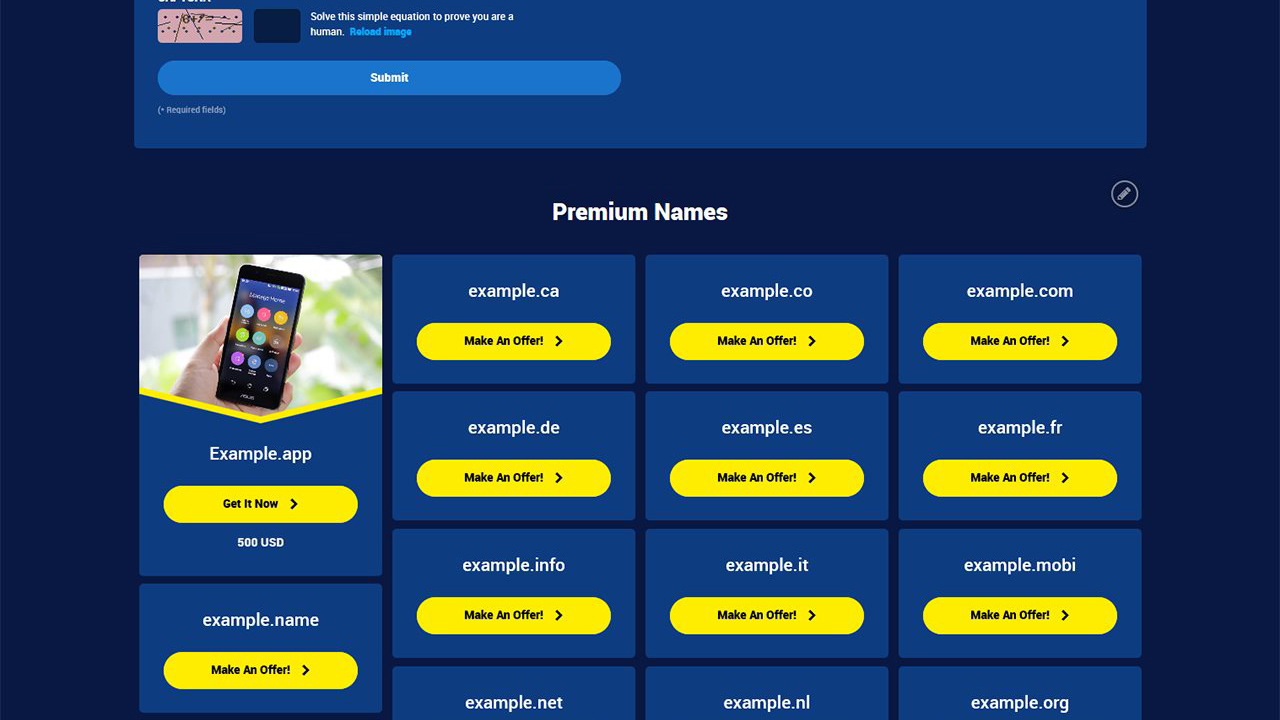
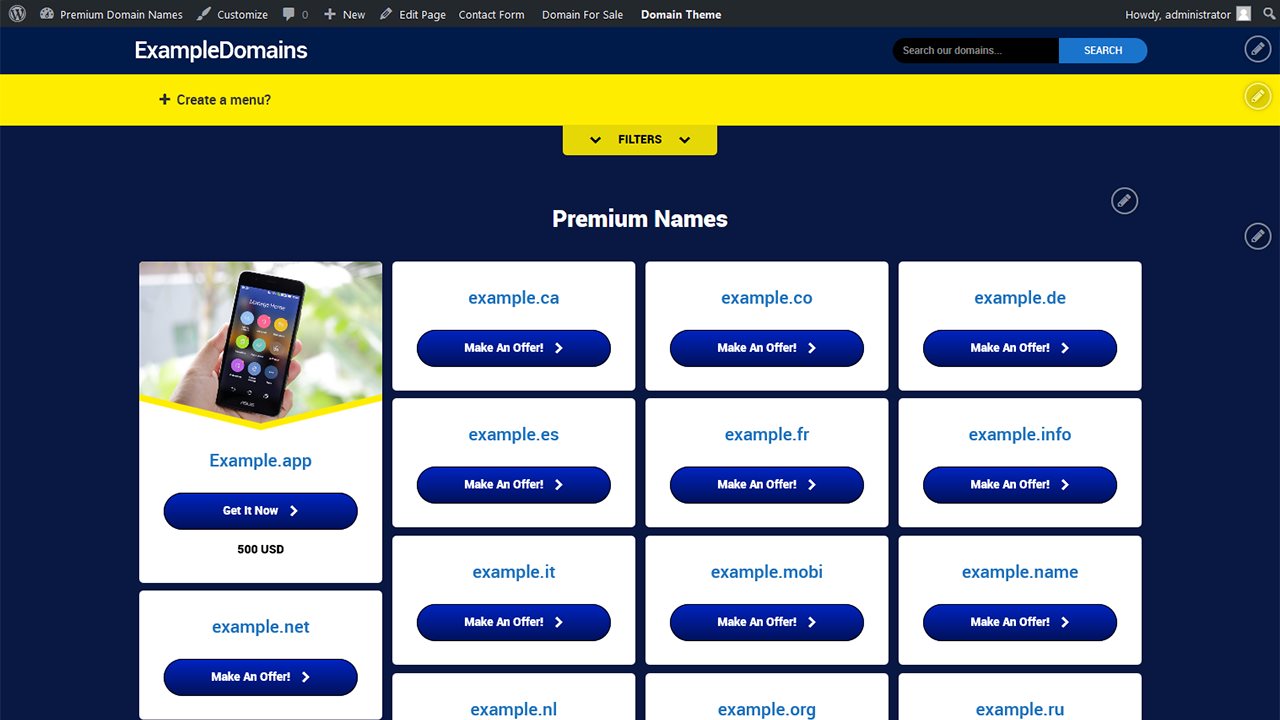
Going back to the homepage you should see that beautiful logo, the fixed price, and a prettier domain name.
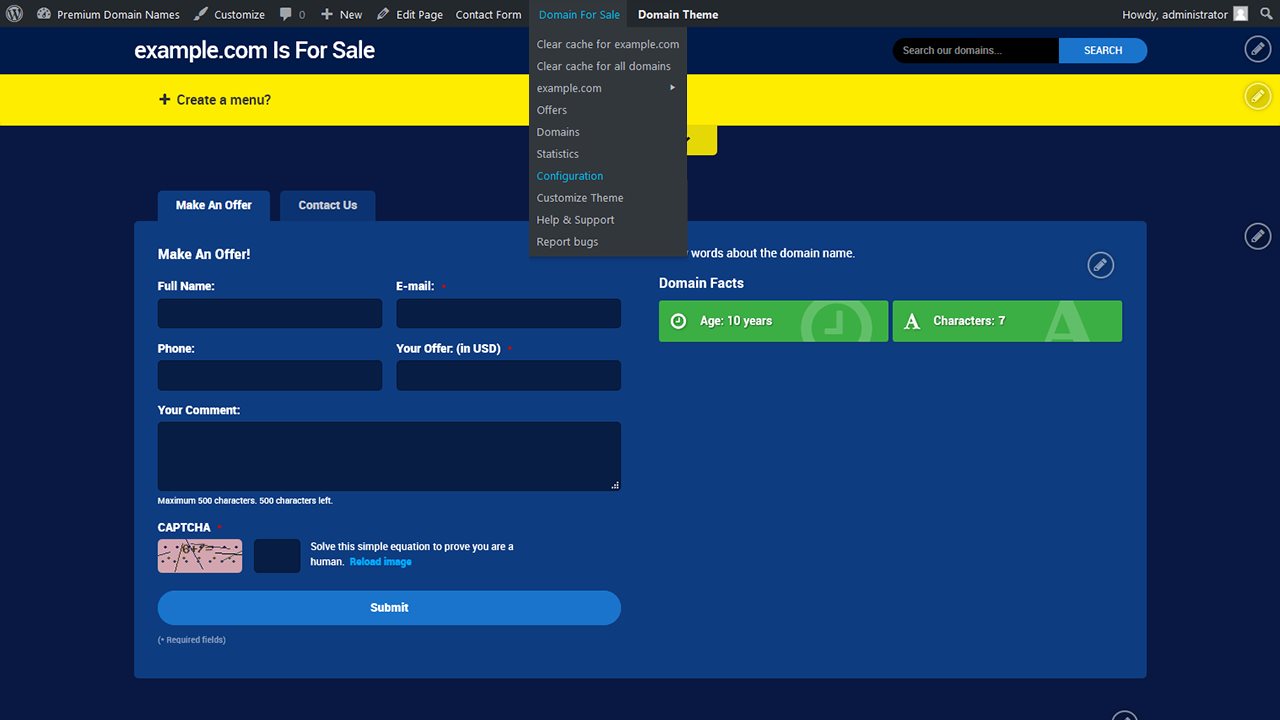
One of the things that maybe all our users would do at this point is marking their main domain as "not for sale", which would remove this bidding form from the main domain. Of course, if you only have one domain to sell that wouldn't be needed.
In order to remove the bidding form from the main domain: go to the "Configuration" page.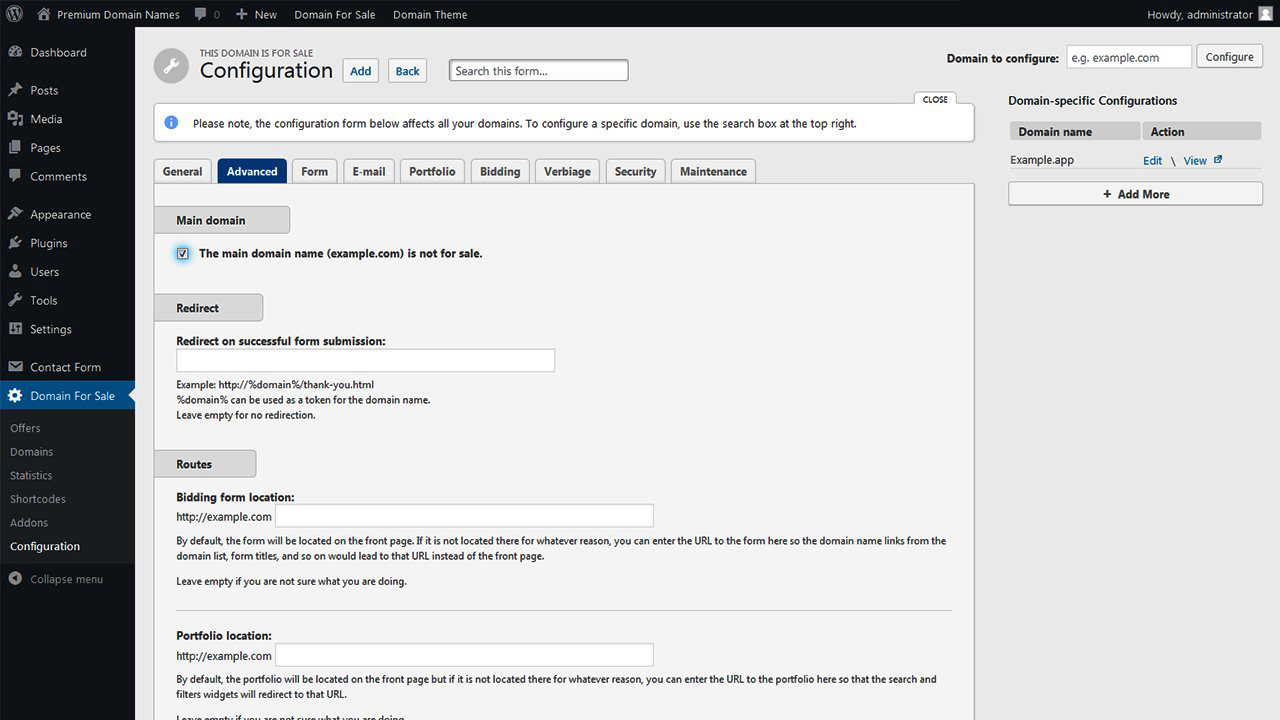
Go to the "Advanced" tab.
Click the checkbox that says "The main domain name is not for sale".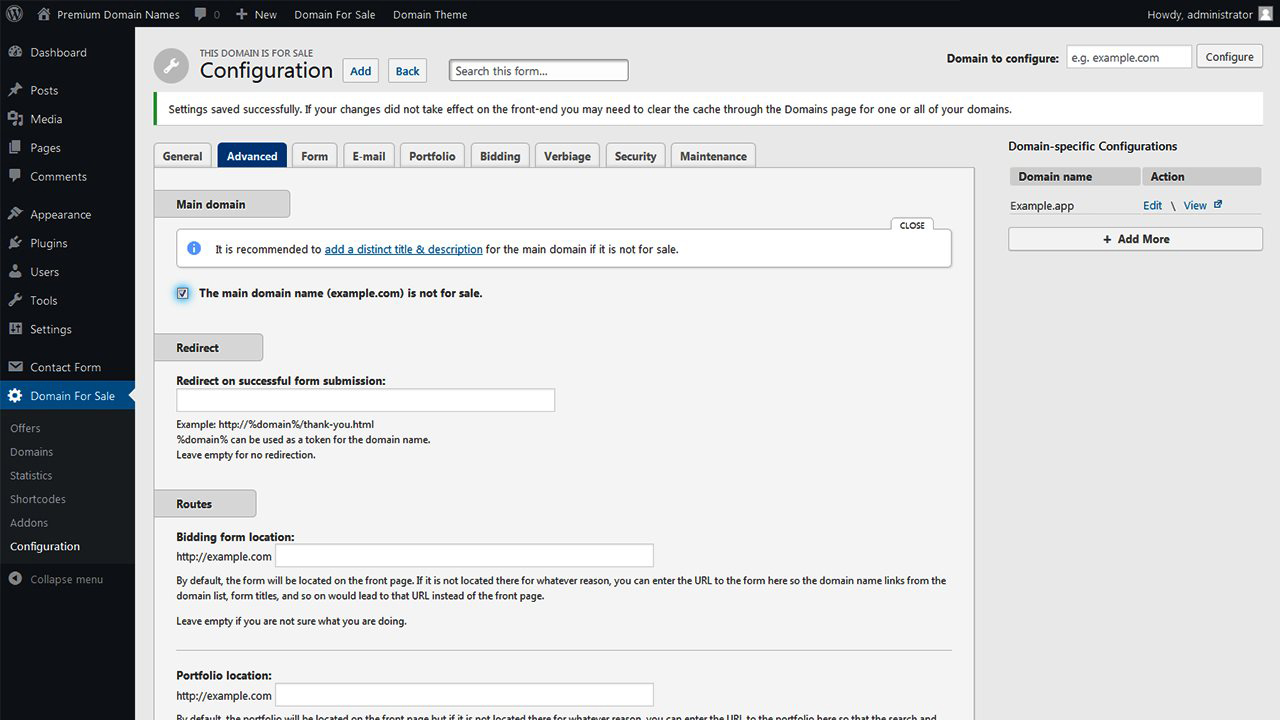
As soon as you change that and save the configuration, there will be a note at the top of that checkbox recommending you to add a distinct title and description for the main domain name.
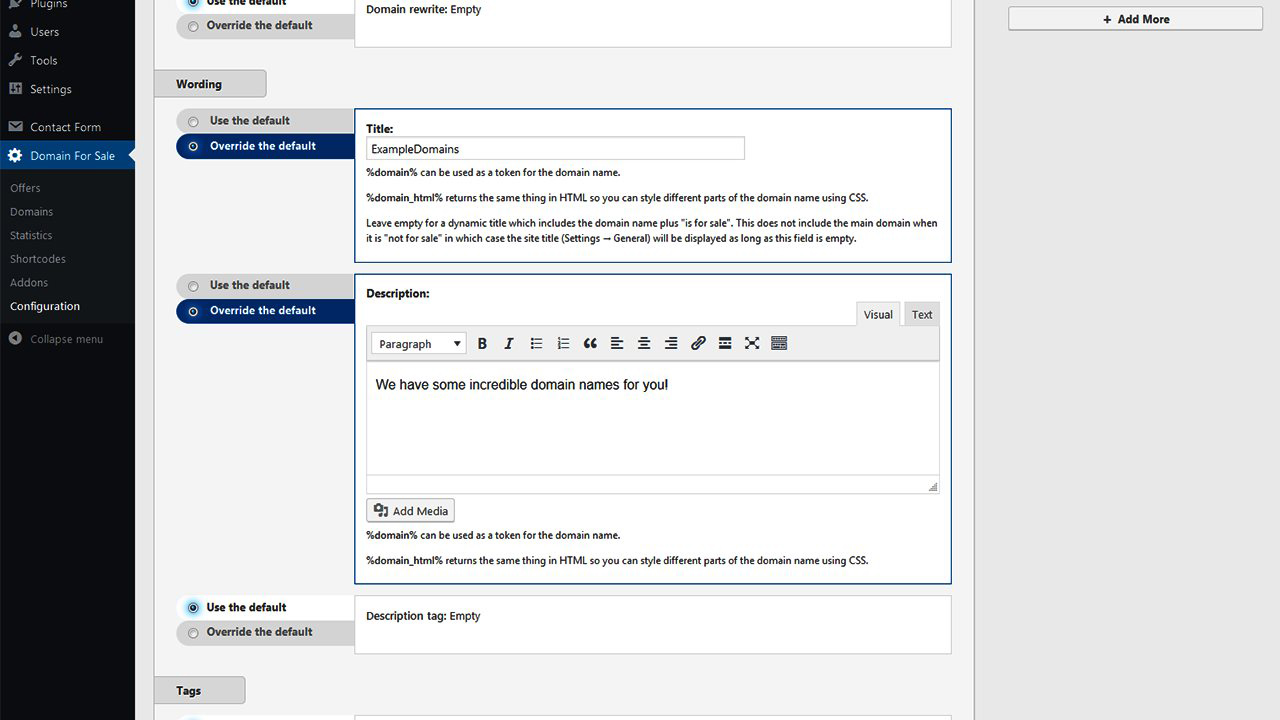
Clicking the link, you will be brought to this custom configuration made for the main domain name.
Change the "Title" and "Description" options to "Overrride the default", and add a nice title and description; you can leave the description empty too but not the title.
Add something nice, let's add ExampleDomains for the title; for the description, something that shows you are selling premium domain names.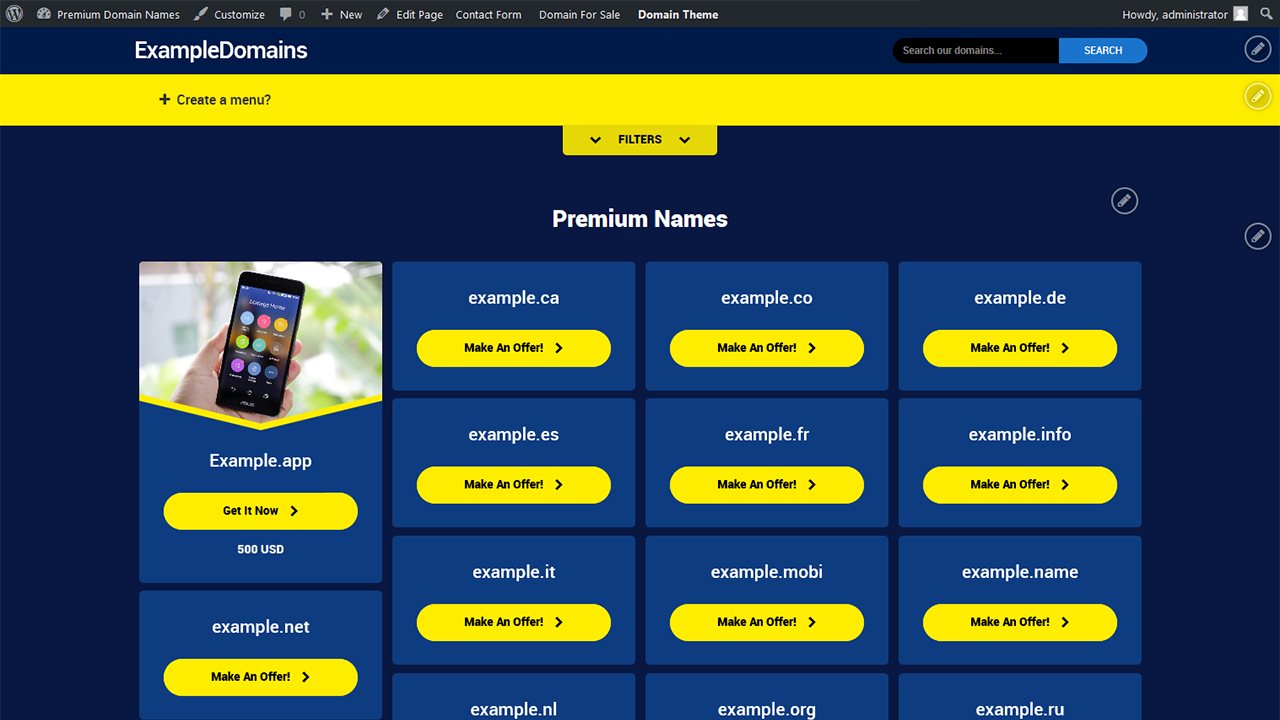
Checking the homepage again, you should see that the bidding form is gone and the page title differs from the rest of the landing pages too.
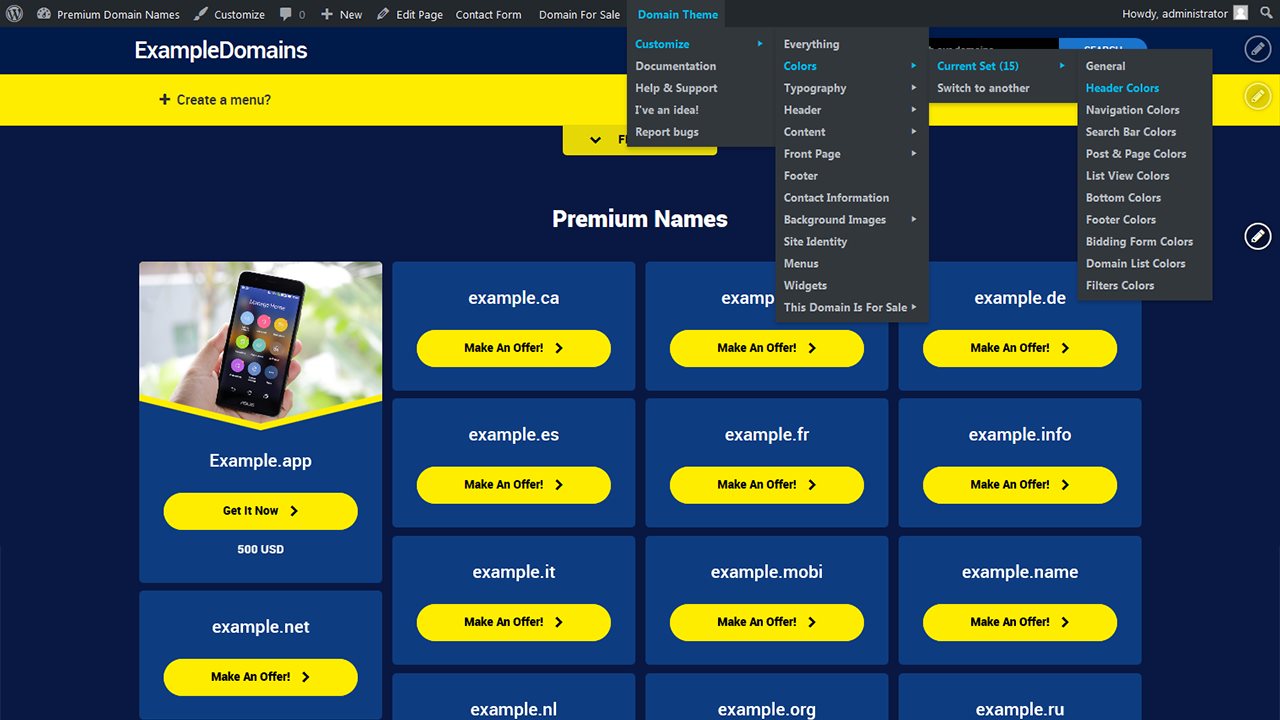
Let's check some of the "Domain" theme features now.
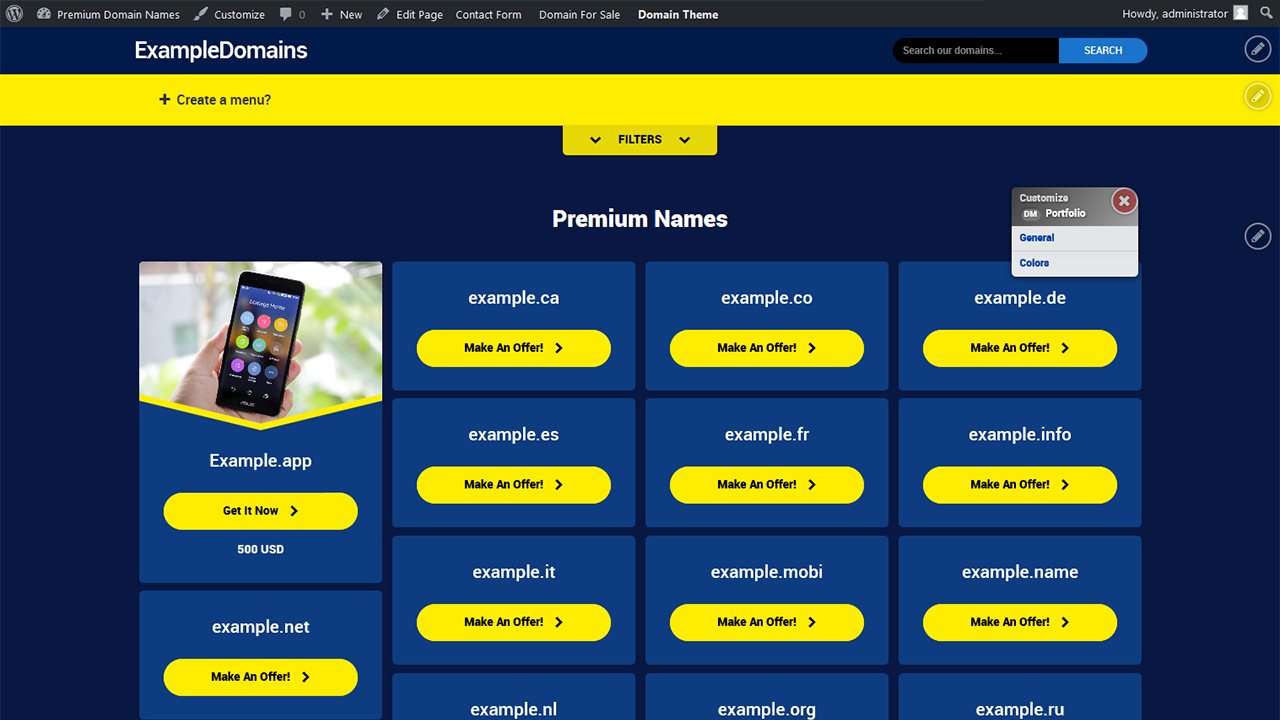
There's a menu at the top which belongs to the Domain theme, you can access so many of the Domain settings through that menu.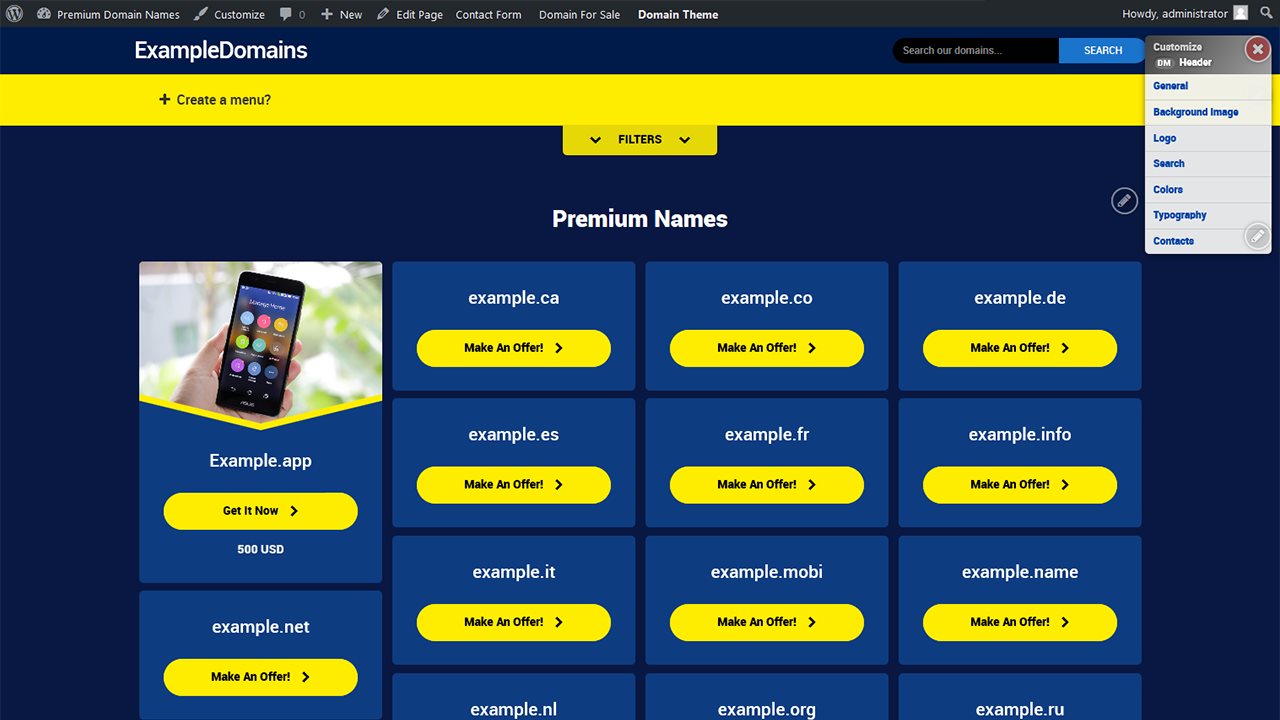
Also, there are these very useful shortcut menus.
You can reach various parts of the customizer through one of these menus.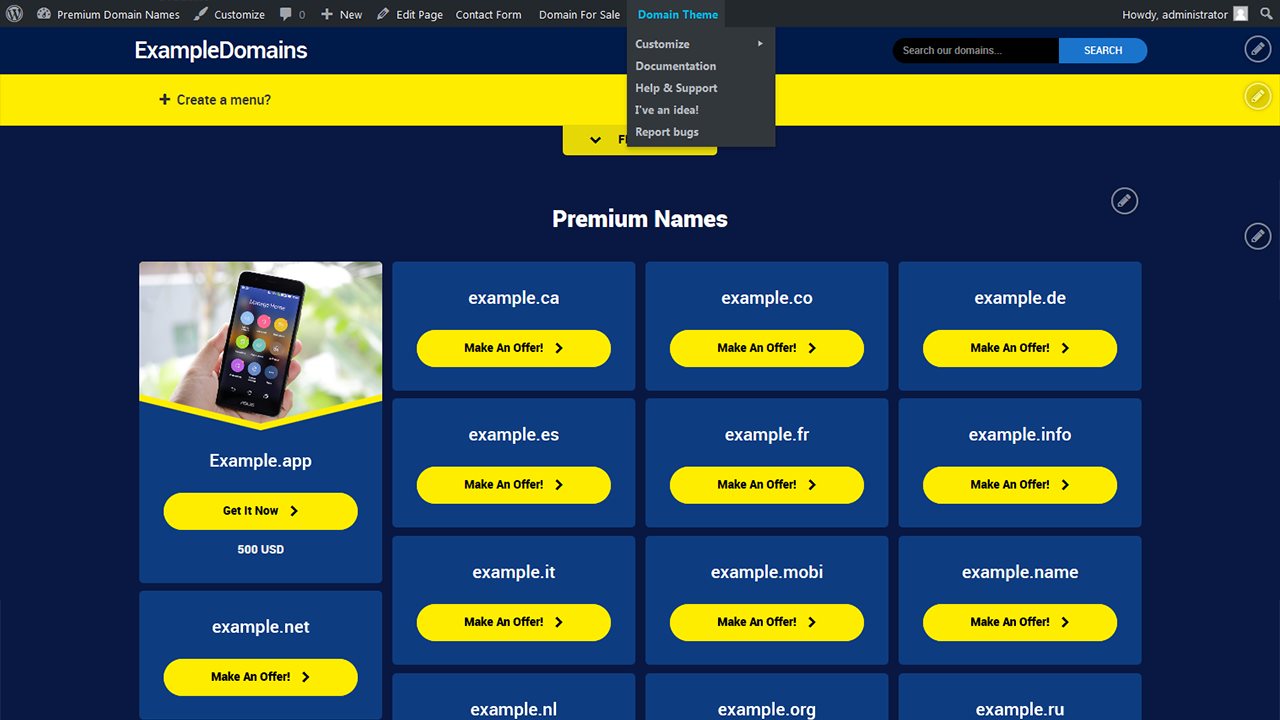
Let's change the color scheme of the theme, and then customize it too.
Click the "Domain Theme" menu at the top of the page.
There's a number of pre-defined color schemes here; you can either select one of them and click the "Save" button to have the color scheme instantly applied to your theme, or you can click the "Preview" buttons to test drive them first.
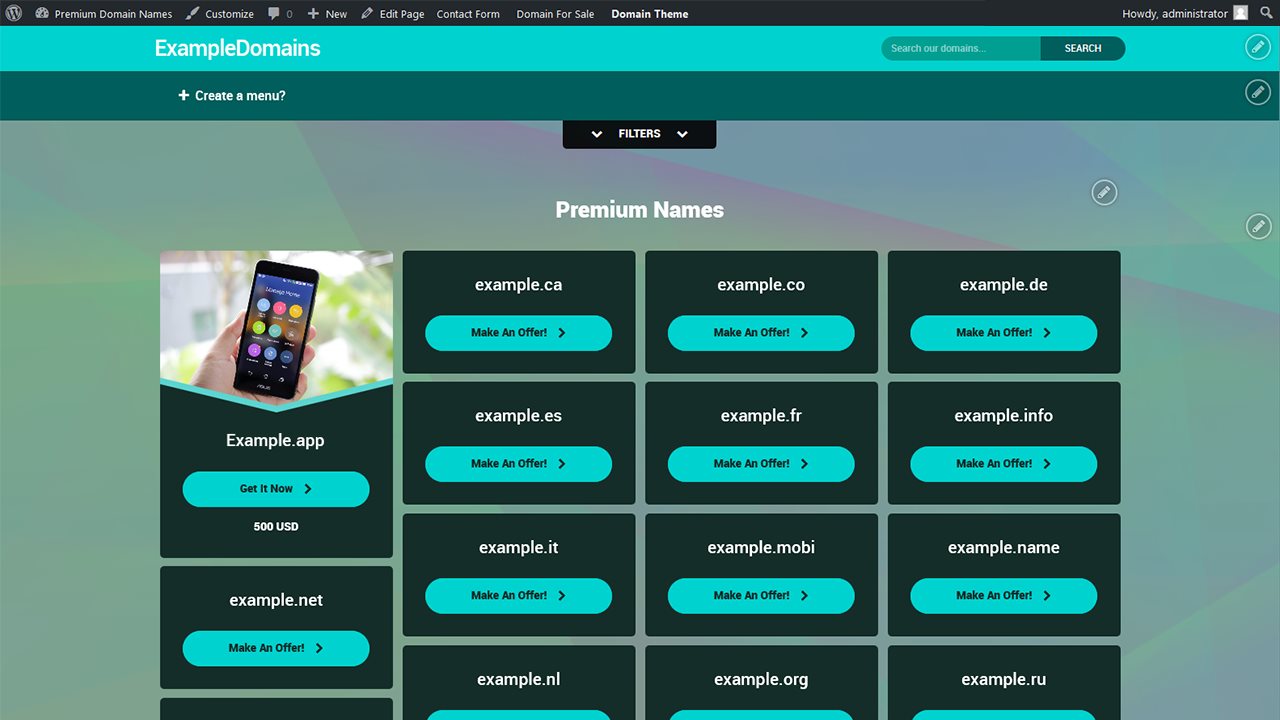
The "Preview" buttons allow you to try different color schemes without any actual change to what your visitors would see.
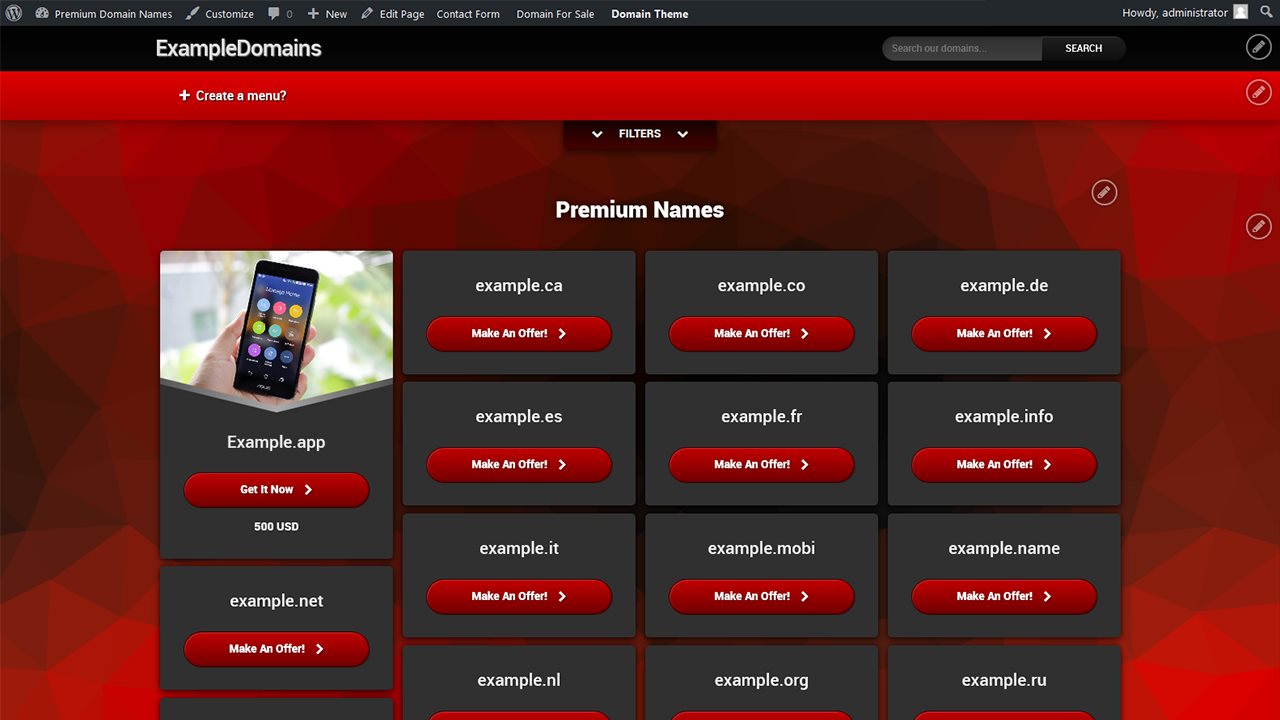
Here is another color scheme.
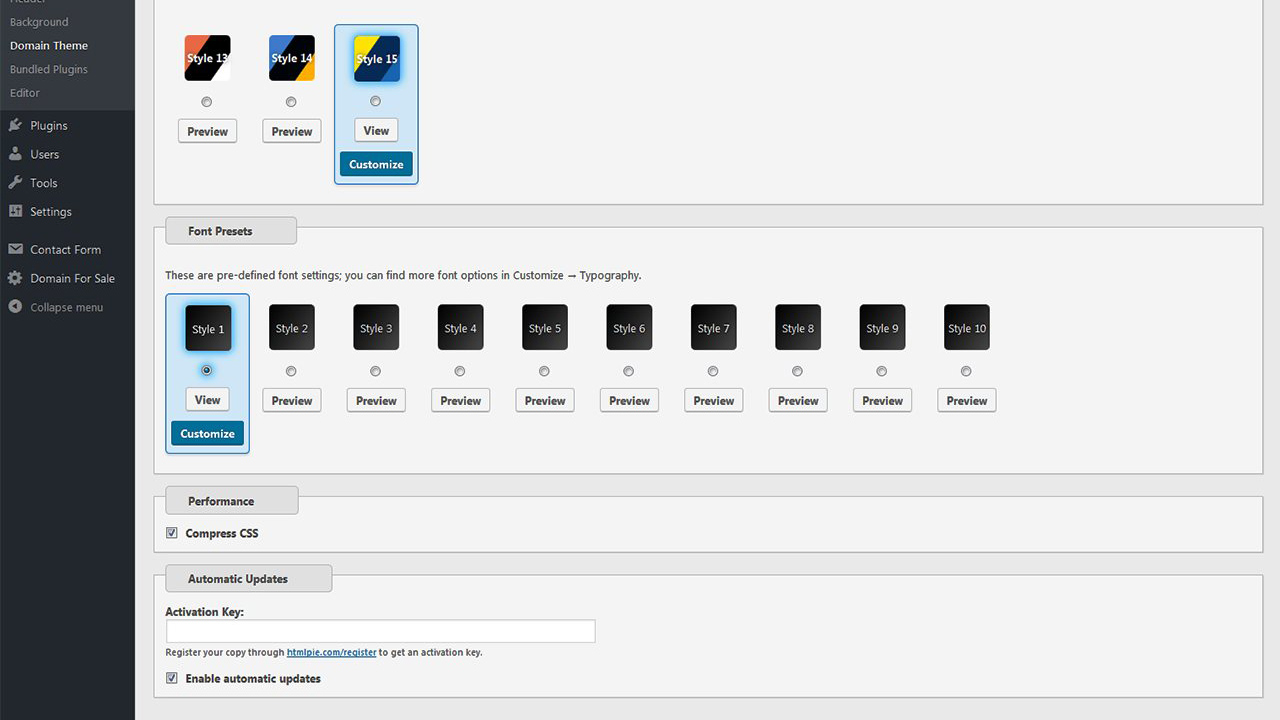
The same counts for the fonts, there are several pre-defined sets there.
Let's now customize the current color scheme.
Click the shortcut menu which belongs to the domain list, and select the "Colors" option.
This is the WP live customizer; it can also be reached through "Appearance" → "Customize".
You can customize almost everything about this theme through this interface, including its colors.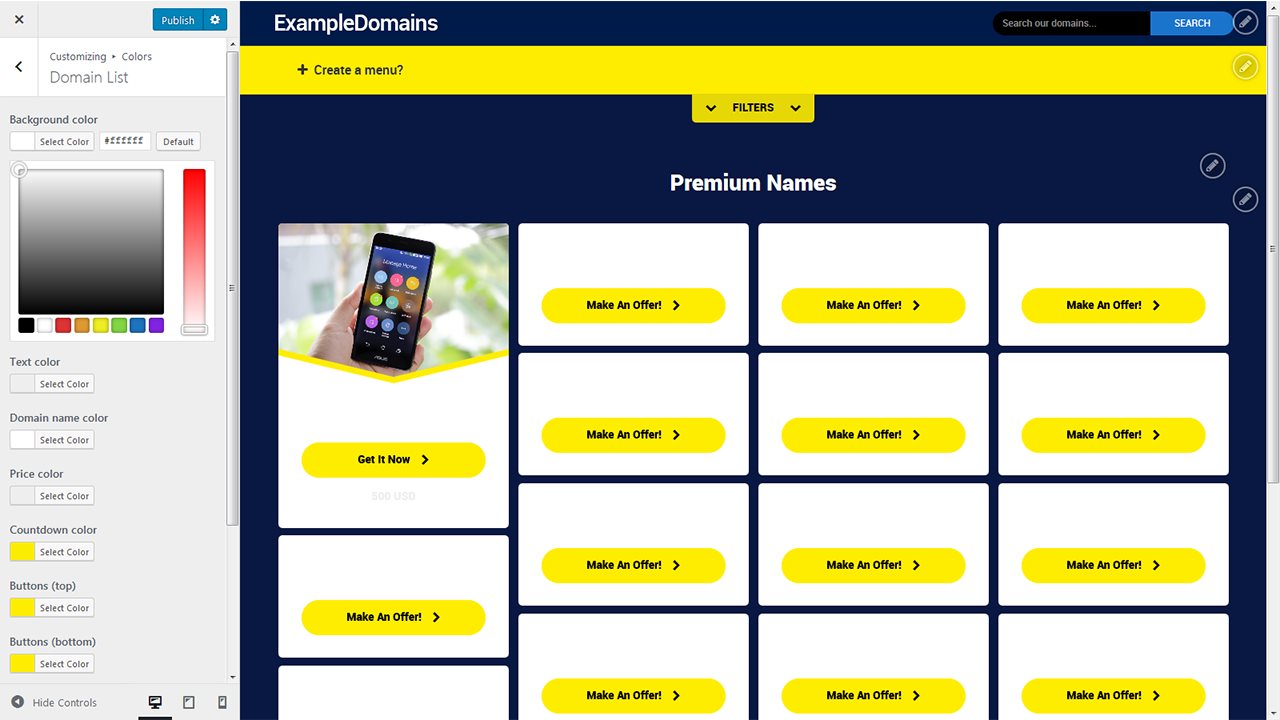
Let's change the color of the domain list.
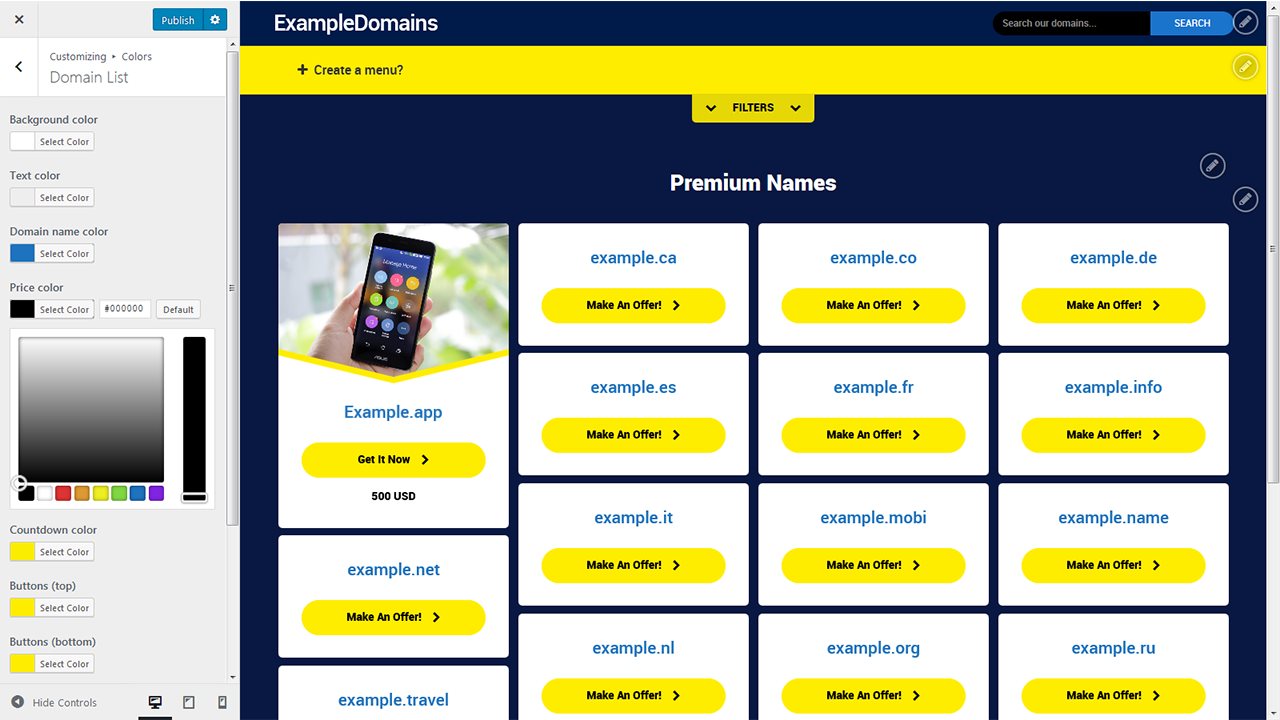
It's incredibly easy, you should just click the "Select Color" button and pick a new color.
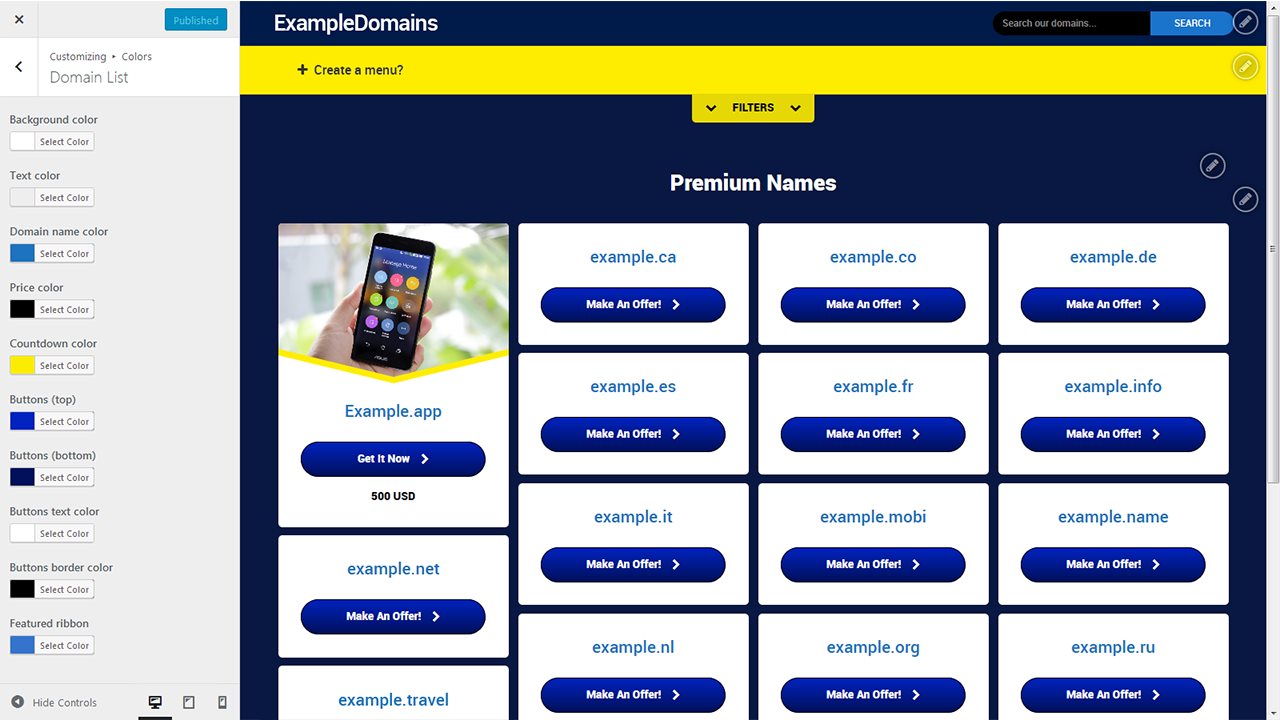
Once you are happy with the results, click the "Publish" button at the top and check your homepage.
So far you should have learned how to install the theme, set your homepage up and running quickly, add logos, make your domain names stand out more, and how to exclude your main domain from your sales, and customize the color scheme.
We recommend you to keep exploring the Configuration page and the live customizer to familiarize yourself with all these settings and options.